Horse Trailer Conversion Part 1 - Cork & Stem

Introduction
Welcome to Sip Bartending's ultimate horse trailer conversion guide - Part 1! In this comprehensive guide, we will walk you through the steps of transforming your ordinary horse trailer into a stunning and functional mobile bar. Whether you're a budding entrepreneur or a passionate host, our detailed instructions and creative ideas will help you create a beverage experience like no other.
About Sip Bartending
Sip Bartending is a leading provider of mobile bartending solutions, specializing in transforming horse trailers into stylish and functional bars. With our expertise in the food and drink industry, we offer unique concepts and designs that help our clients stand out in the marketplace. From customized installations to innovative branding, we take pride in delivering exceptional results that exceed expectations.
Why Convert a Horse Trailer?
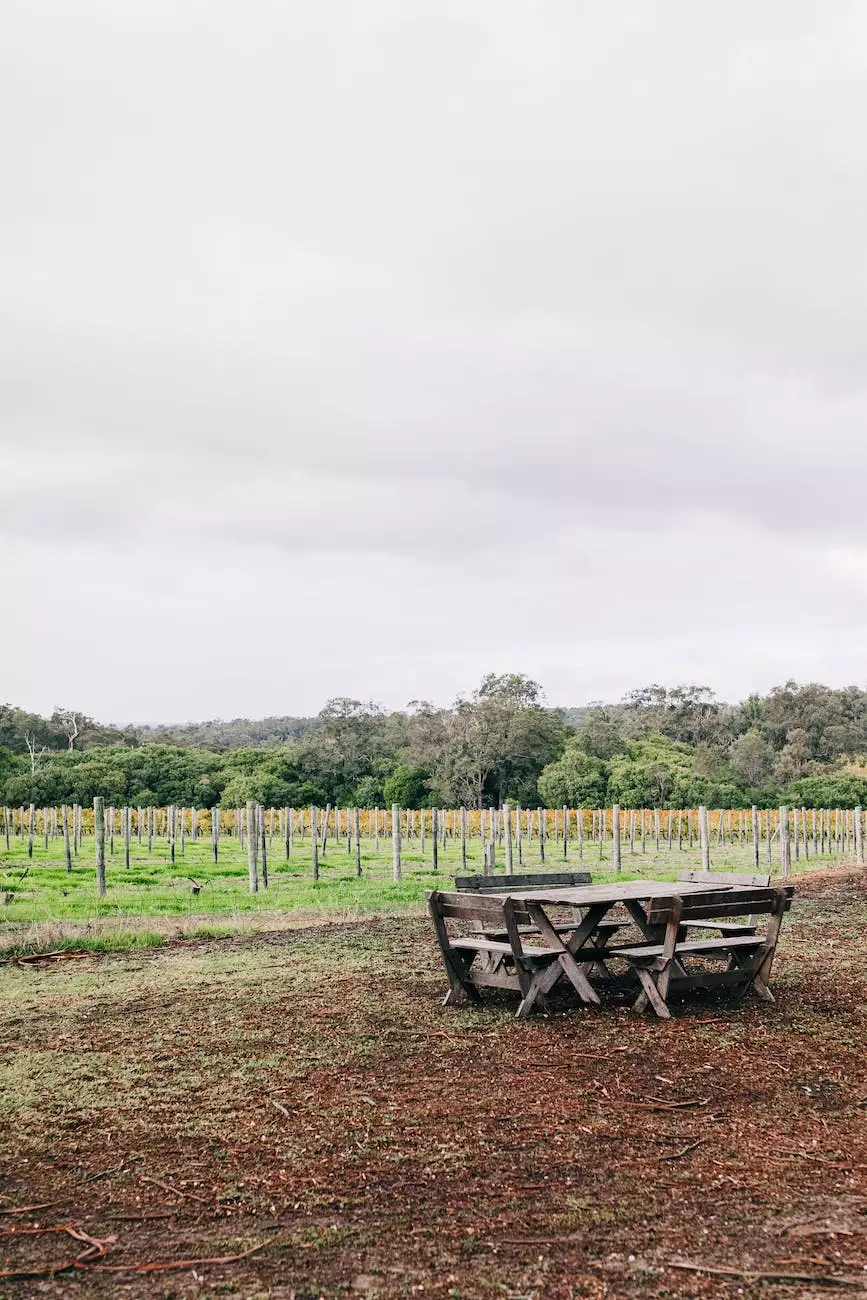
Converting a horse trailer into a mobile bar offers numerous advantages. Firstly, it provides a mobile and versatile platform to serve your beverages at various events, festivals, and private gatherings. Secondly, it allows you to significantly reduce your overhead costs compared to traditional brick-and-mortar establishments. Lastly, a converted horse trailer provides a unique and eye-catching aesthetic that sets you apart from the competition.
Planning Your Conversion
Before diving into the conversion process, it's essential to have a well-thought-out plan. Consider the overall layout, functionality, and design aesthetics that align with your brand image. Determine the specific features you want to include, such as a bar counter, refrigeration, shelving, and storage. Consulting with professionals or researching online resources can help you gather ideas and inspiration to create a blueprint for your conversion.
Materials and Tools
To successfully convert your horse trailer, you'll need a range of materials and tools. Some common materials include wood, metal, insulation, flooring, plumbing, electrical components, and various fixtures. The tools you'll require may include a drill, saw, screwdriver, measuring tape, level, power tools, and safety equipment. Make sure to gather all the necessary items before starting your conversion to avoid unnecessary delays.
Step-by-Step Conversion Guide
Step 1: Clearing and Preparing the Trailer
Begin by completely clearing out the interior of the horse trailer. Remove any horse-related elements and clean the space thoroughly. Inspect the trailer for damages or potential structural issues that need to be addressed before proceeding to the conversion process.
Step 2: Designing the Layout
Based on your initial plan, start designing the layout of your bar. Consider factors such as the flow of service, customer seating, storage space, and bartending area. Visualizing the layout beforehand helps streamline the construction process and ensures a well-organized and functional space.
Step 3: Structural Modifications
If necessary, make structural modifications to the trailer to accommodate your desired features. This may include enlarging windows, creating openings for doors, adding partitions, or reinforcing certain areas. It's important to consult professionals or experienced individuals to ensure compliance with safety regulations.
Step 4: Installing Plumbing and Electrical Systems
If your mobile bar requires plumbing and electrical systems, carefully plan and install them according to local regulations and safety standards. Consider the placement of sinks, water tanks, pumps, lighting, and power outlets. Hiring licensed professionals for this step is highly recommended to ensure proper installation.
Step 5: Building the Bar Counter and Shelves
Construct the bar counter and shelves using high-quality materials that match your desired aesthetics. Consider functionality, durability, and ease of maintenance when selecting materials. Install the bar counter, shelving units, and any additional storage features according to your layout design.
Step 6: Finishing Touches
Apply a fresh coat of paint or an exterior wrap to enhance the visual appeal and branding of your mobile bar. Decorate the interior with stylish finishes, such as wallpaper, tiles, or panels, that reflect your brand identity. Don't forget to install essential accessories like mirrors, lighting fixtures, and branding elements to complete the look.
Conclusion
Congratulations on completing Part 1 of our horse trailer conversion guide! This detailed guide has provided you with valuable insights and step-by-step instructions to transform your horse trailer into a stylish and functional mobile bar. Stay tuned for Part 2, where we will delve deeper into branding, marketing, and running your mobile bar business successfully.
Disclaimer
Please note that the horse trailer conversion process requires careful planning, proper permits, compliance with local regulations, and expertise in construction and design. Sip Bartending advises individuals to consult professionals and follow all applicable safety guidelines when undertaking such projects.